Podcasting is a great way to share your voice, ideas, and stories with the world. But what if you want to record a podcast remotely with guests or co-hosts who are not in the same location as you? How can you ensure a smooth and high-quality recording experience?
In this post, we will show you how to record a podcast remotely in four easy steps. We will also provide some tips and best practices for each step, as well as some software recommendations.
Let’s get started!
Step 1: Prepare Your Equipment and Environment
The first step to recording podcasts remotely is to make sure you have the right equipment and environment. You will need:
A Good Microphone and Headphones
These will improve your audio quality and help you avoid feedback and background noise. You don’t have to spend a fortune on a professional mic, but you should avoid using the built-in mic on your laptop or computer.
A USB microphone is a convenient and affordable option that plugs directly into your device. Some popular USB mics are the Blue Yeti, the Rode NT-USB Mini, and the Rode Podcaster.
If you want even better sound quality, you can invest in an XLR microphone that connects to an audio interface or a mixer.
A Soundproofed Recording Environment
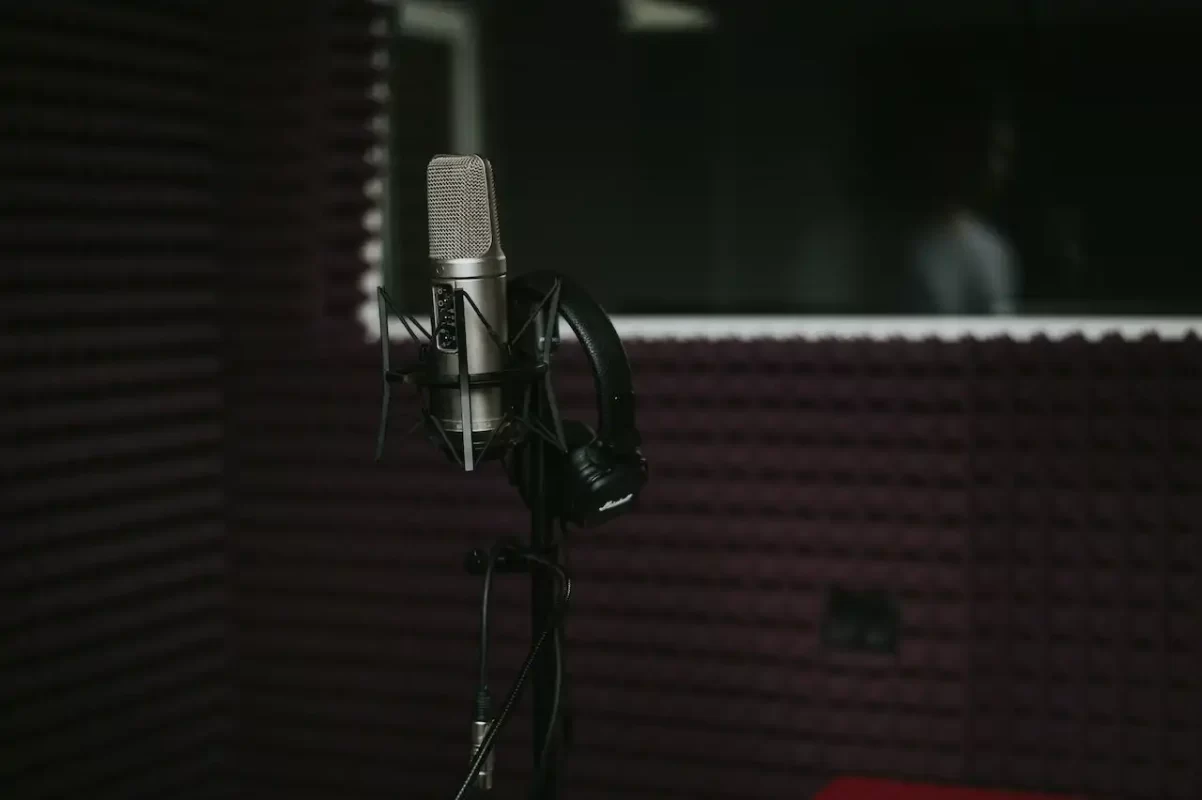
You should find a quiet and comfortable space to record your podcast, preferably with minimal echo and noise. You can use curtains, carpets, blankets, or pillows to reduce sound reflections. You can also install a noise-canceling app like Krisp to filter out unwanted sounds.
A Reliable Internet Connection
You should have a fast and stable internet connection to avoid lagging, buffering, or dropping out during the recording. You can use an Ethernet cable or a Wi-Fi extender to boost your signal. You can also test your internet speed here.
A Computer or Smartphone
You will need a device that can run the recording software and connect with your guest or co-host. You should also have enough storage space and battery life for the recording.
Step 2: Choose Your Recording Method and Software
The second step to recording a podcast remotely is to choose your recording method and software. There are four main methods to record a podcast remotely, depending on your preference and the kind of equipment you and your guest or co-host have. They are:
#1. Double-Ender
This is the best way to record a podcast remotely with studio-quality audio or video. A double-ender method involves each person recording their own audio/video track locally and then sending it to the podcaster for post-production.
?? Pros:
- Offers the best audio quality possible
- Does not require any subscription fee or per-hour charge
- Does not have any compatibility issues or restrictions
- Does not require any additional cables or adapters
?? Cons:
- Requires more coordination and communication between the host and the guest
- Requires more editing and syncing work in post-production
- May result in lost or corrupted files if not handled properly
- May not record video if needed
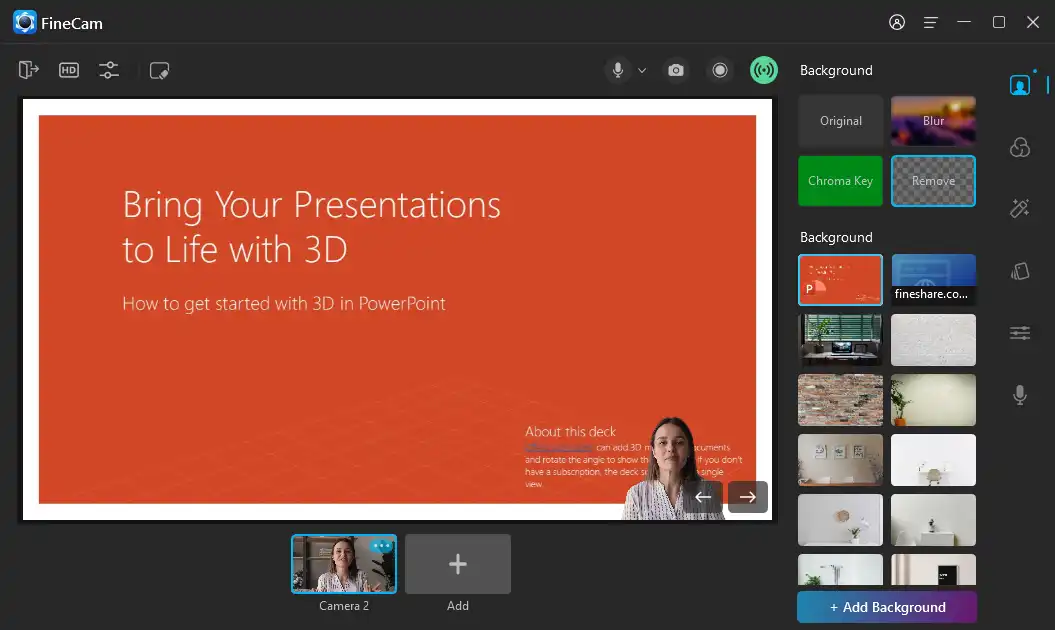
One of the best software for recording local video double-enders is FineShare FineCam. This free video recording software has no time limit for video podcast recording. It’s a great choice for new podcasters as it’s easy to use without a steep learning curve.
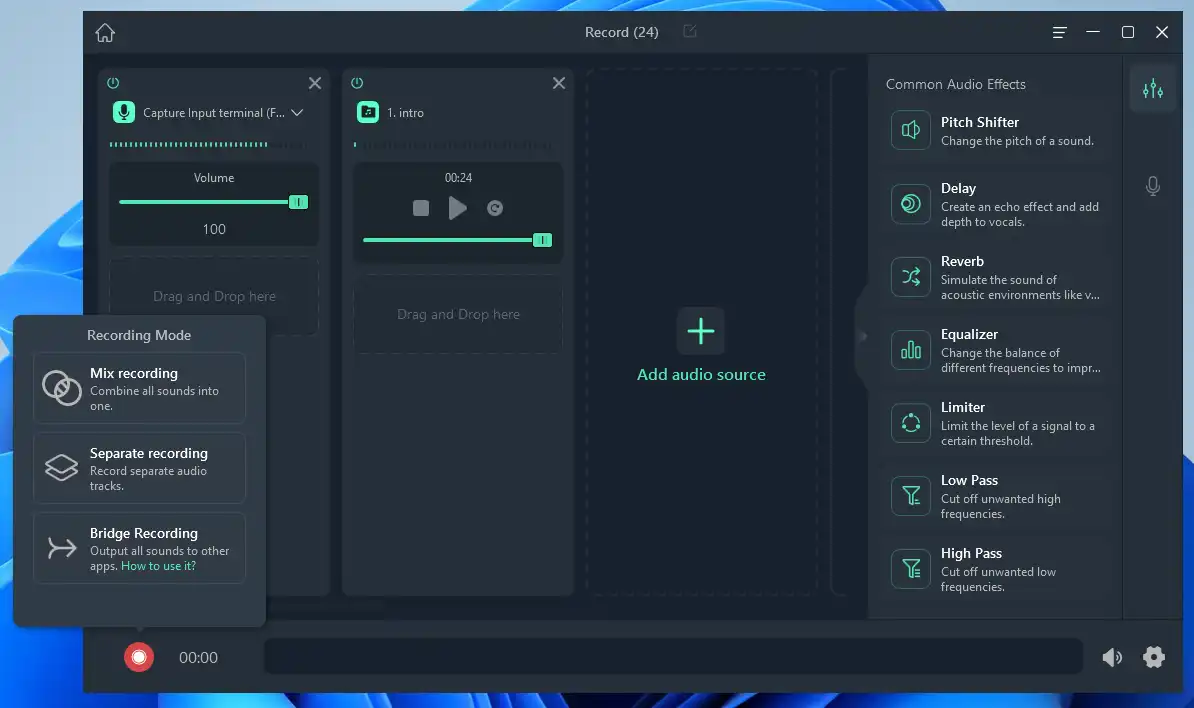
And FineShare FineVoice is for audio double-enders. This voice recorder can change your voice with 30+ voice effects, and record high-quality audio tracks separately. You can also mix the system, microphone, or phone audio into one track to save mixing time.
You can use try other recording software such as Audacity or GarageBand. The downside is that this method requires more coordination and editing, but it gives you more control over the final product.
#2. Remote Podcast Recording Software
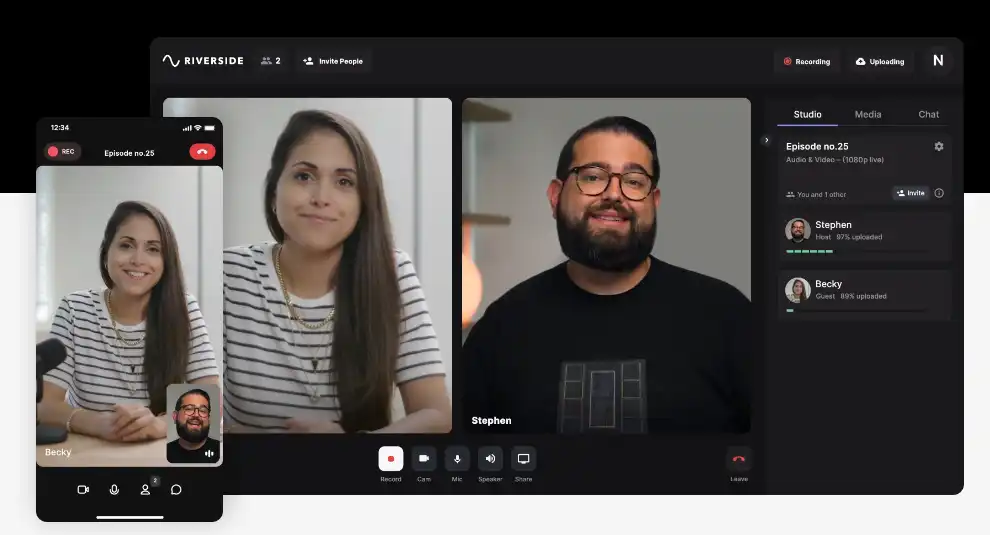
This is a more advanced and reliable way to record a podcast remotely with high-quality audio and video. Remote recording software uses local recordings to capture each person’s track separately and then sync them in the cloud.
You can also use features like live-streaming, listener call-ins, and video editing. Remote recording software typically requires a subscription fee and a stable internet connection. One of the best remote recording software is Riverside.
?? Pros:
- Records separate tracks for each speaker
- Records locally on each device and uploads the files automatically
- Offers features like live chat, soundboard, video switching, and live streaming
- Integrates with popular podcast hosting platforms
?? Cons:
- May require a subscription fee or a per-hour charge
- May have compatibility issues with some devices or browsers
- May have limited editing capabilities or storage space
#3. Video Conferencing Software
This is the easiest and most convenient way to record a podcast remotely with guests or co-hosts. You can invite them to a video call and hit record.
Video conferencing software has apps for different devices and allows you to record for free or for a low cost. The downside is that it compresses your audio and video, so you won’t get the best quality possible.
?? Pros:
- Free or low-cost
- Easy to use and set up
- Allows you to see each other’s faces
- Offers features like screen sharing, chat, and live transcription
?? Cons:
- Depends on your internet connection quality
- May compress or distort your audio quality
- May not record separate tracks for each speaker
- May have time limits or restrictions on the number of participants
One of the most popular video conferencing software is Zoom.
Here are some of the best Zoom settings for podcasters:
- Record a separate audio file of each participant (Settings > Recording)
- Enable “Original Sound” (Settings > Audio)
- Turn on High-fidelity music mode
- Turn off your video to save some bandwidth if you don’t have the best internet connection or Wi-Fi.
If you want better video quality in video podcasting on Zoom, FineCam can make you look better. It can use your phone as a 4K webcam, add filters and effects to video, adjust video color and light, etc. You can use it as a virtual camera on Zoom and have a better interview experience.
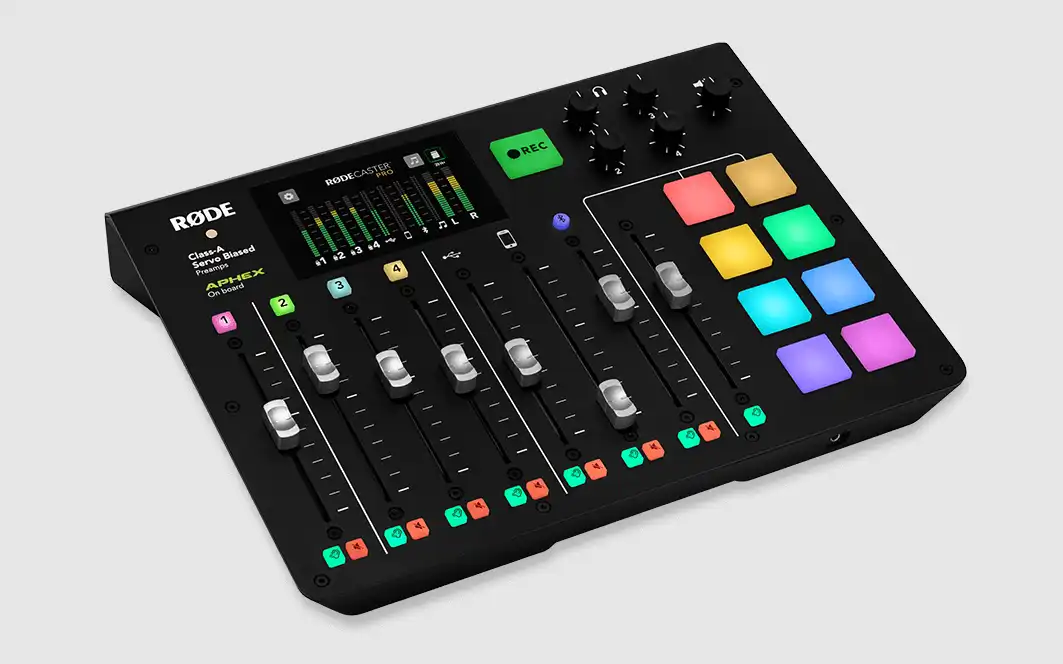
#4. Mixer
This is a device that allows you to connect multiple audio sources and adjust their levels and effects. You can use a mixer to record phone calls for your podcast.
?? Pros:
- Offers more control and flexibility over your audio quality
- Can record multiple inputs and outputs simultaneously
- Can add effects like compression, EQ, or reverb to your audio
- Can work with both USB and XLR microphones
?? Cons:
- Can be expensive and bulky
- Can be complicated and intimidating to use
- May require additional cables and adapters
- May not record separate tracks for each speaker
This is a good option if you want to record a podcast remotely with guests or co-hosts who don’t have access to a computer or a microphone.
The downside is that phone calls don’t offer great audio quality, but they are easy and flexible. One of the best mixers for podcasting is the Rode Rodecaster Pro.
You can choose any of these methods based on your budget, preferences, and goals. You can also mix and match different methods to suit your needs.
Step 3: Communicate with Your Guest or Co-Host
The third step to recording a podcast remotely is to communicate with your guest or co-host before, during, and after the recording. Communication is key to ensuring a smooth and successful remote recording session.
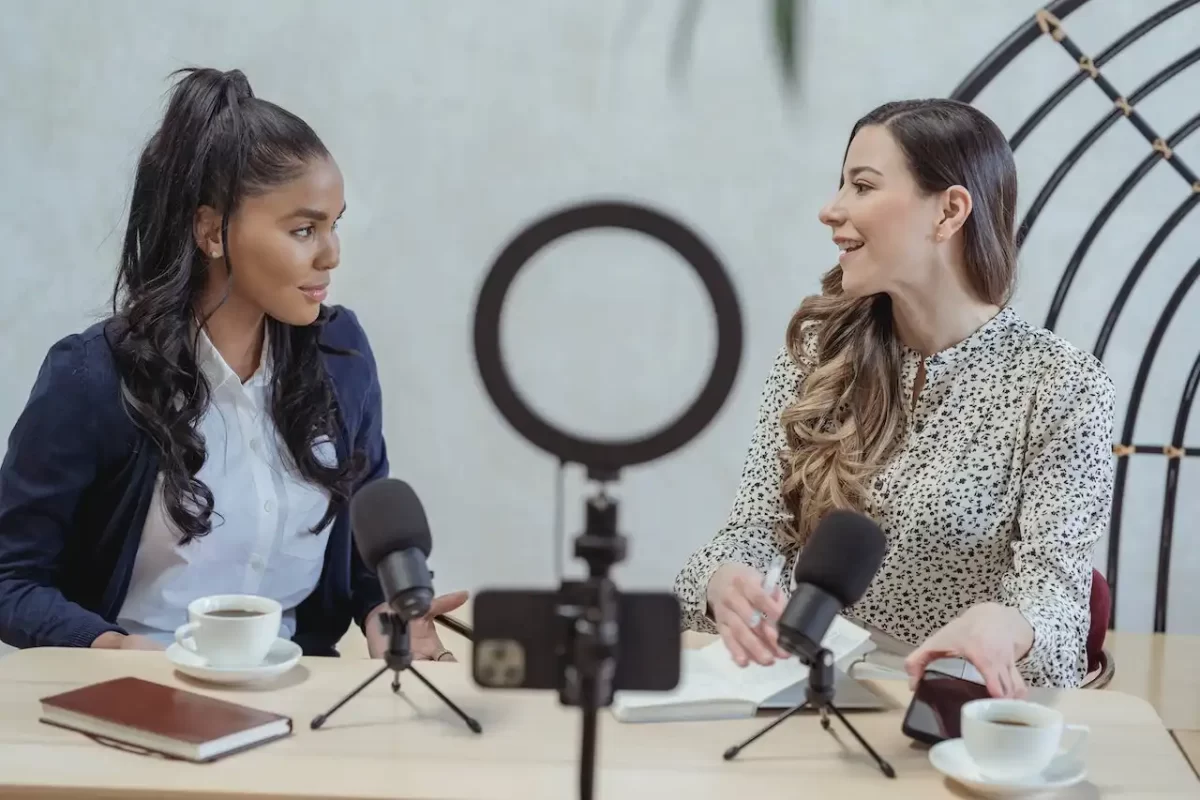
If you have any questions about how to interview someone for a podcast remotely, hope this part can help you.
Before the recording, you should:
- Confirm the date, time, and duration of the recording
- Send them the link or invitation to join the recording software
- Ask them about their equipment and setup
- Send them some tips or instructions on how to prepare for the recording
- Review the outline or script of the episode
- Do a soundcheck and test the connection
During the recording, you should:
- Introduce yourself and your guest or Co-host at the beginning and end of the episode
- Keep eye contact and use body language to show interest and engagement
- Avoid talking over each other or interrupting
- Use cues or signals to indicate when you want to speak or ask a question
- Have fun and enjoy the conversation
After the recording, you should:
- Thank your guest or co-host for their time and participation
- Ask them to send you their audio or video file if you are using the double-ender method
- Ask them for their feedback or suggestions for improvement
- Send them a link to the published episode and ask them to share it on their social media
- Keep in touch and maintain a good relationship
Step 4: Edit and Publish Your Podcast Episode
The fourth and final step to recording a podcast remotely is to edit and publish your podcast episode.
Editing is an important part of podcasting, as it can improve the quality, clarity, and flow of your episode. Publishing is the process of uploading your episode to a podcast hosting platform and distributing it to different directories and platforms.
To edit your podcast episode, you will need:
- Audio or video editing software: You can use any software you like, such as Audacity, GarageBand, Adobe Audition, or iMovie. You can also use online tools like Alitu or Descript.
- A pair of headphones: You should use headphones to listen to your recording and catch any errors or issues.
- A quiet and distraction-free environment: You should find a place where you can focus on your editing without any interruptions.
To edit your podcast episode, you should:
- Import your audio or video file into your editing software
- Trim the beginning and end of your recording
- Cut out any silences, ums, ahs, or filler words
- Adjust the volume levels and balance of each track
- Add any music, sound effects, or transitions
- Export your edited file in an MP3 or MP4 format
To publish your podcast episode, you will need:
- A podcast hosting platform: You can use any platform you like, such as Buzzsprout, Podbean, Transistor, or Anchor. You can also check out our recommendations for the best podcast hosting platforms here.
- A podcast name, description, artwork, and category: You should have these ready before you upload your episode. You can also check out our guide on how to name your podcast here.
- A podcast RSS feed: This is a link that connects your podcast to different directories and platforms. Your podcast hosting platform will generate this for you automatically.
To publish your podcast episode, you should:
- Upload your audio or video file to your podcast-hosting platform
- Add a title, description, tags, and artwork for your episode
- Submit your podcast RSS feed to different directories and platforms, such as Apple Podcasts, Spotify, Google Podcasts, etc.
- Promote your episode on your social media, website, blog, email list, etc.
FAQs about How to Record a Podcast From 2 Locations
Q: How to record a podcast remotely for free?
A: There are two ways to record a podcast remotely for free: use a video conferencing tool like Zoom or record a double-ender.
Zoom lets you record meetings for free for up to 40 minutes. If you run out of time, just send your guest a new link. A double-ender like FineCam (for video podcasts) or FineVoice (for audio podcasts) involves each party recording themselves and sending the files to the podcaster for post-production.
Q: How do I record a podcast remotely with high-quality audio and video?
A: The best way to record a podcast remotely with high-quality audio and video is to use remote recording software like Riverside. Local recording software like FineCam and FineVoice can record high-quality clips too.
Q: How do I record a podcast remotely with guests or co-hosts who don’t have access to a computer or a microphone?
A: The best way to record a podcast remotely with guests or co-hosts who don’t have access to a computer or a microphone is to use a mixer.
This kind of device allows you to connect your phone to your computer and record the call. Phone calls don’t offer great audio quality, but they are easy and flexible.
Tip: How to Look Superb on Remote Podcast Recording
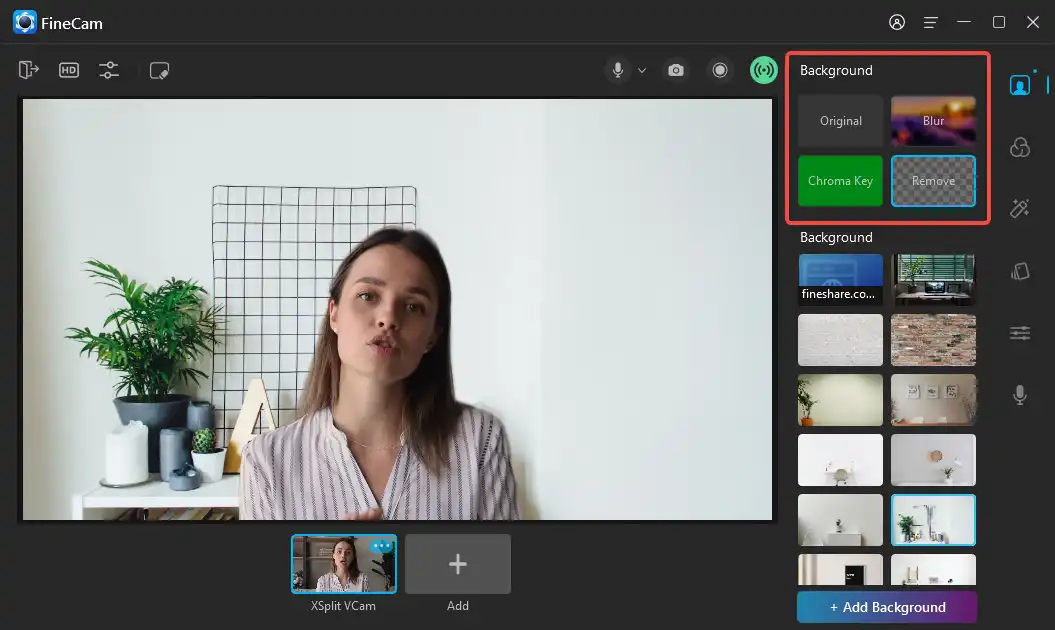
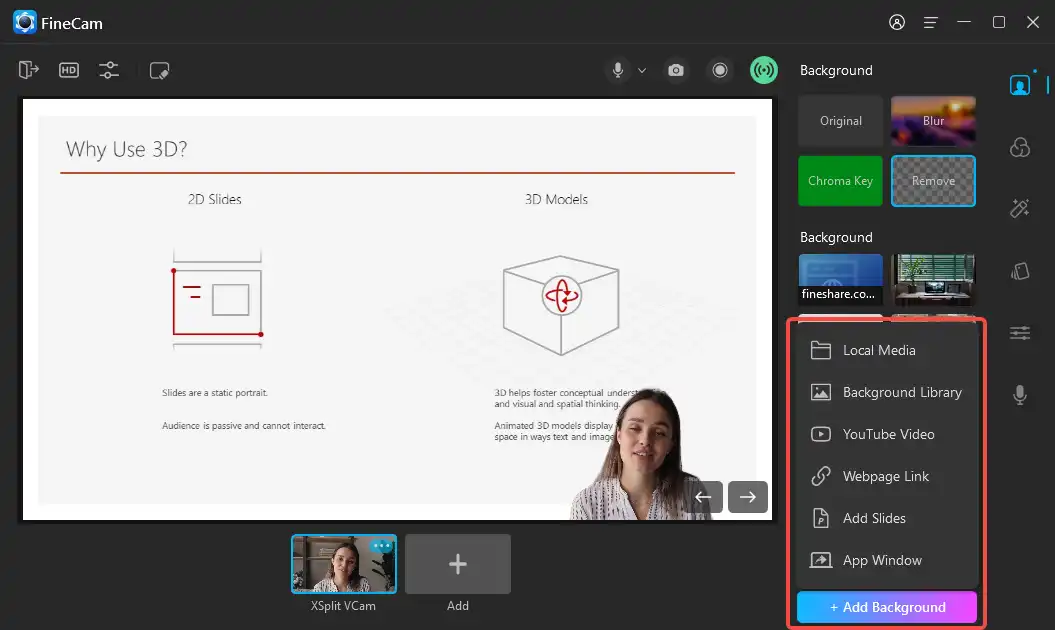
Use FineCam to get 4K video podcasts, remove the webcam background with 1 click, and add comprehensive content to support your ideas like PPT slides, webpages, app windows, phone screens, local media, etc.
The steps to use FineCam to record remote podcasts:
Step 1: Download FineCam on your computer.
Step 2: Launch FineCam and connect a webcam via Wi-Fi or USB.
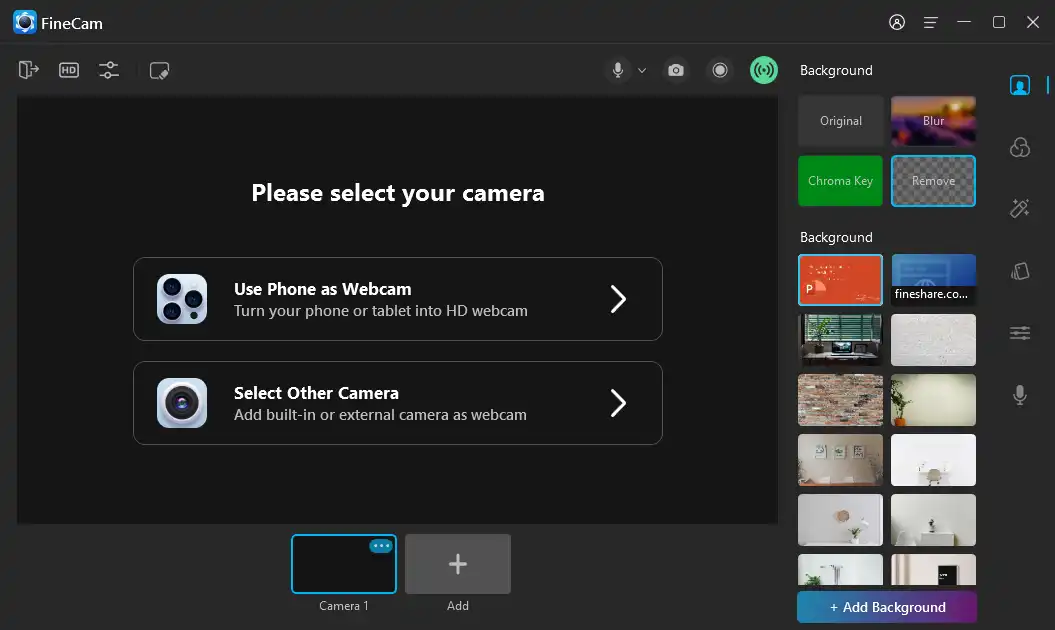
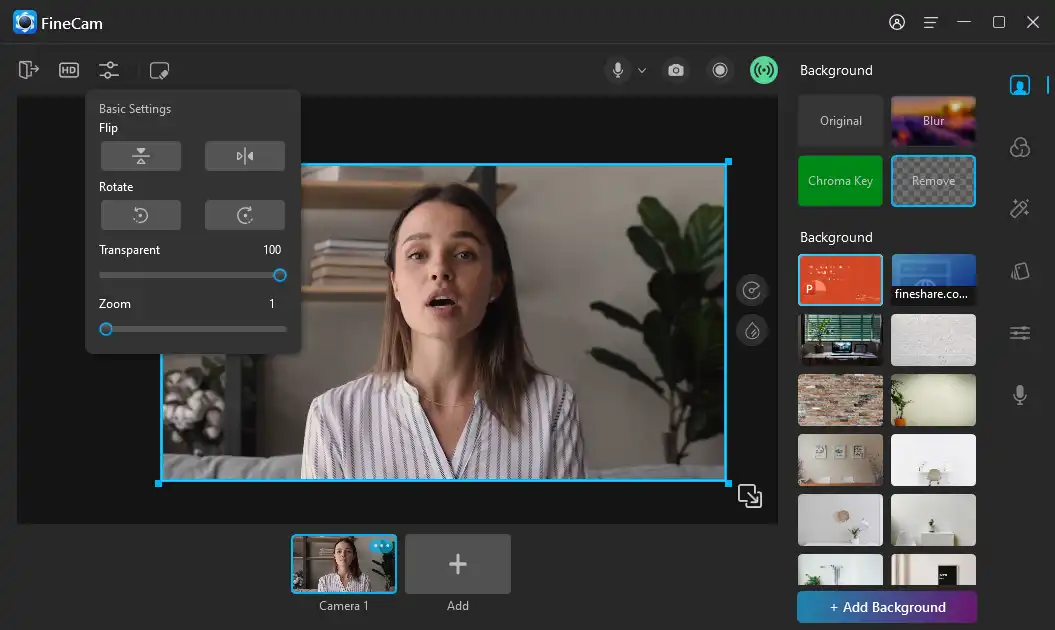
Step 3: Adjust the video, you can mirror, flip, rotate the webcam video, resize, and move it.
Step 4: Remove, blur, or change your webcam background to suit your needs.
Step 5: Add content to support your argument as you like.
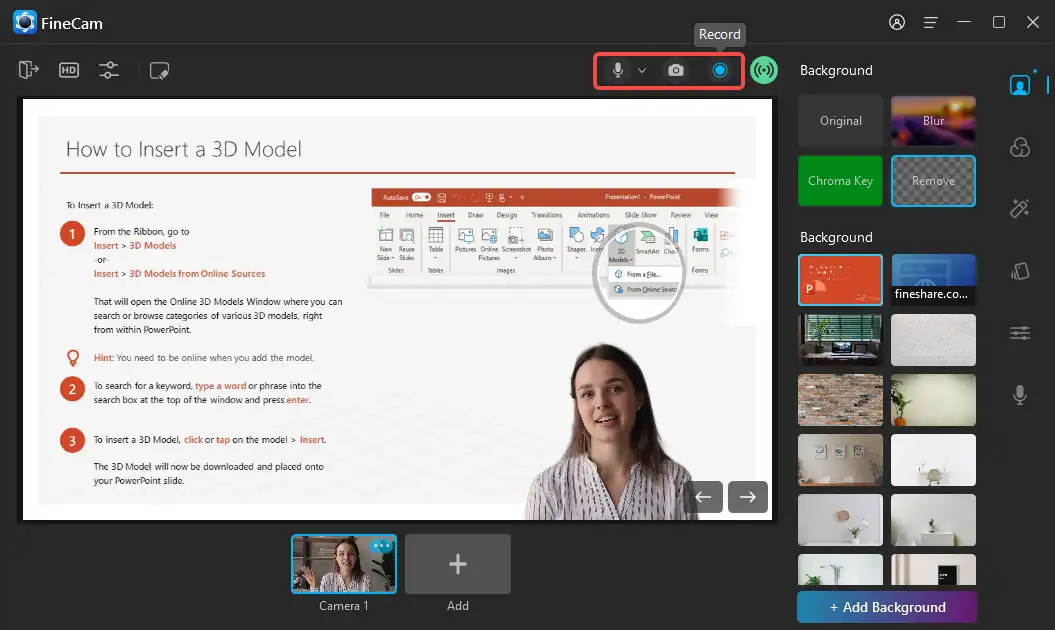
Step 6: Record your podcast clips with a webcam overlay.
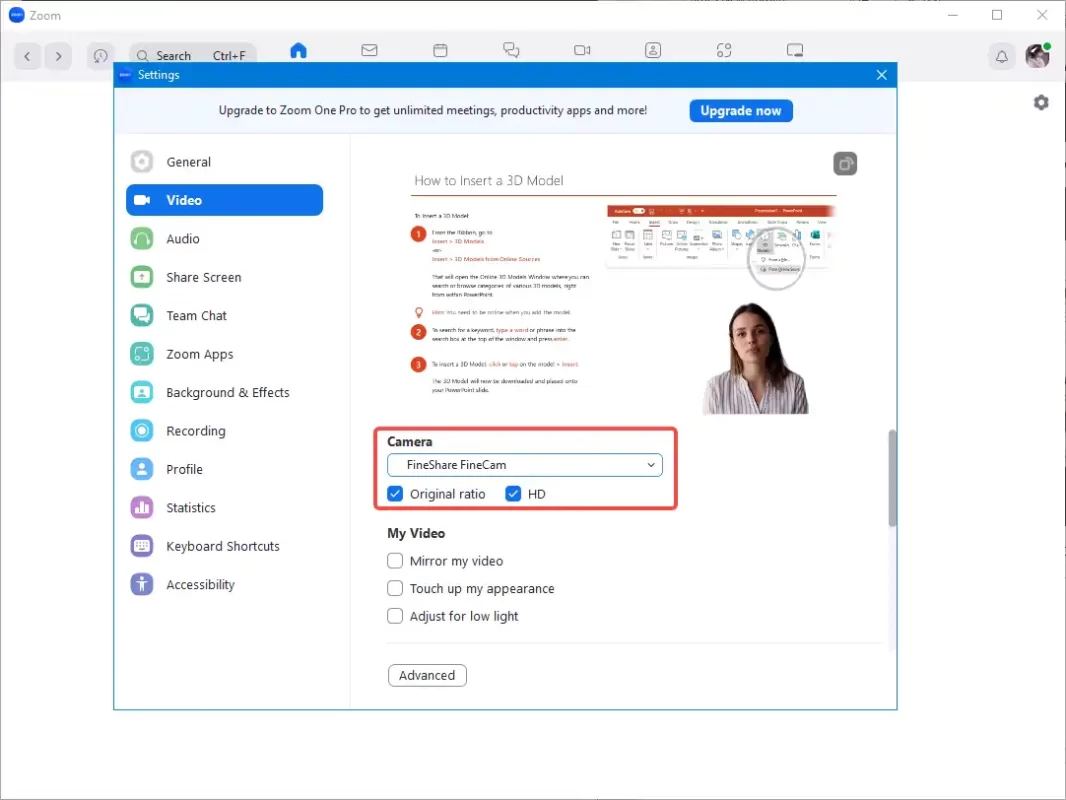
Step 7: If you want to apply this superb video for remote interviews on Zoom or other video conference platforms, select FineShare FineCam as the camera source in video settings.
Conclusion
Recording a podcast remotely can be challenging, but it can also be rewarding. You can connect with guests and co-hosts from different locations, create engaging and diverse content, and reach a wider audience.
In this post, we have shown you how to record a podcast remotely in four easy steps. We have also provided some tips and best practices for each step, as well as some software recommendations.
The best way to record a podcast remotely depends on your budget, preferences, and goals. You can choose from video conferencing software, remote recording software, a mixer, or a double-ender. You can also mix and match different methods to suit your needs.
We hope this post has helped you learn how to record a podcast remotely. Now it’s time to put your knowledge into practice and create an amazing podcast episode.
Happy podcasting!


