Has your webcam ever failed before a video conference? The in-built webcams are not 100% reliable. Besides, their video quality is not the best. Luckily, there are alternative methods that you can use for your webcam, which allow you to use an iPad as a webcam.
If you are wondering how that’s possible, this post will discuss the 3 free and quickest methods that you can use to turn your iPad into a webcam. You need an app that allows your webcam to mimic and recreate the webcam experience, and you will get the job done. Check it out!
Method 1. How to Use iPad as Webcam for PC & Mac using FineCam
FineCam is a free tool that adds enhancement to your webcam using your iPhone, iPad, backgrounds, effects and overlays. Furthermore, it lets you capture screenshots, stream live video, or record video on video chat apps like Skype and Zoom.
To use FineCam:
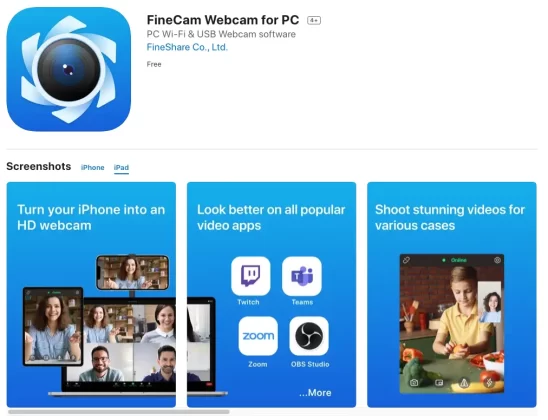
Step 1. Download and install FineCam webcam app on your iPad from the App Store.
Once installed, ensure to allow the app to access your network and camera for it to work.
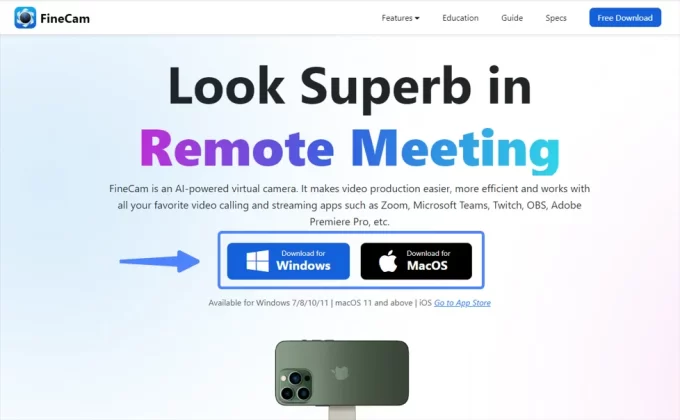
Step 2. Download FineCam Desktop Client on Windows or Mac.
Visit the official FineCam website and download the FineCam desktop client, then install it.
Step 3. Connect your iPad as Camera source.
Once FineCam runs on your computer and iPad, use a USB cable to connect the iPad to the computer or connect via the same Wi-Fi network. Once connected, follow the on-screen instructions on your iPad to send requests to your computer.
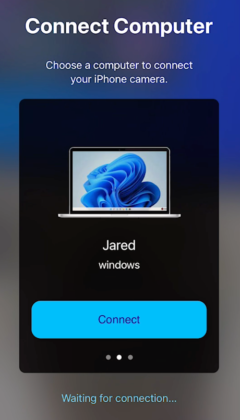
Or you can send the connection request from the FineCam desktop client by creating a scene and then selecting the phone camera.
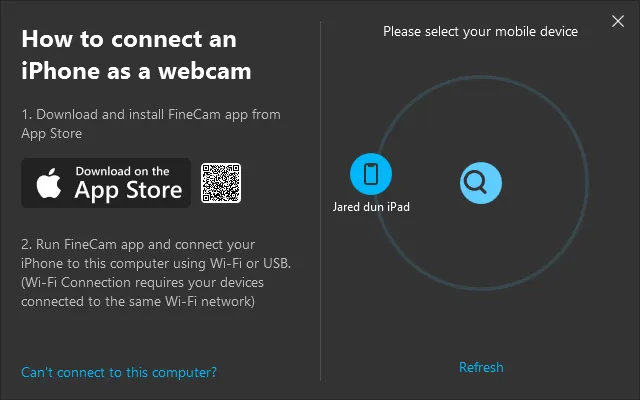
Step 4. Use your iPad as a webcam for online meetings, streaming, or just for recording.
After accepting the request, you will be able to preview the live video that your iPad captures. With FineCam, you can add multiple iPad and iPhone devices as webcams, and switch among them.
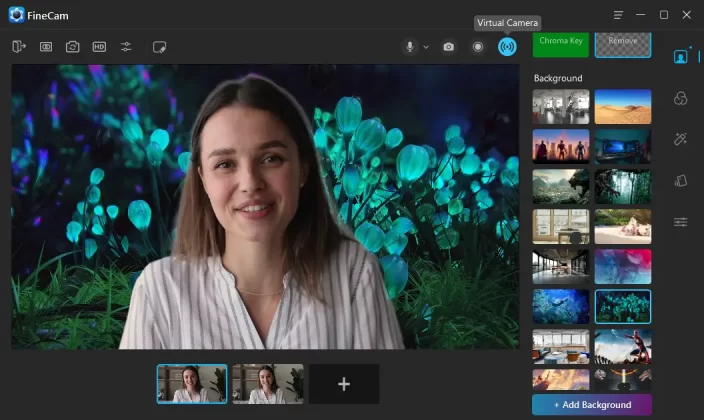
On the top right corner, you can use the quick menu to take a snapshot, record a video, or set FineCam as a virtual camera so that you can use your iPad as a webcam on video chat apps like Discord, Zoom, Skype, and more.
Method 2. How to Turn Your iPad into Webcam using iVCam
iVCam is a tool designed to allow users to use an iPad as a camera for a PC. iVCam lets you connect your iPad via USB or the same network. Furthermore, it will enable you to connect many phones simultaneously to a single PC. However, iVCam only supports Windows PC.
The best part with iVCam is that it enables you to use your iPad or iPhone as a security device, such as a baby monitor or a CCTV.
To use iVCam:
Step 1. Open App Store from your iPad and download iVCam Webcam.
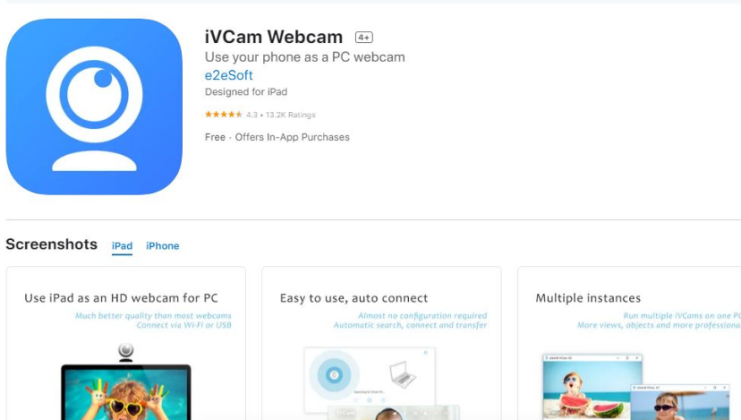
Step 2. Next, download the Windows iVCam client software from your Windows PC.
Step 3. Run the downloaded iVCam file and click “Yes” when it prompts for authorization.
Step 4. Follow the on-screen instructions to complete the installation and choose to create a desktop shortcut.
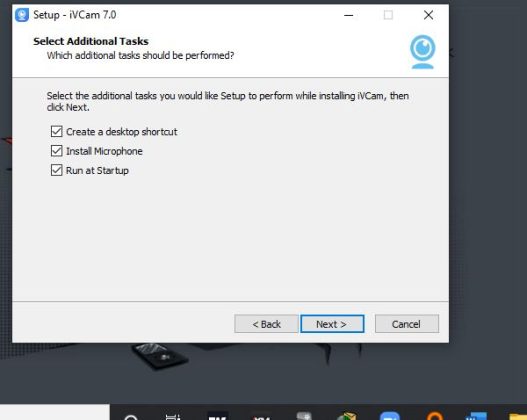
Step 5. Open the iVCam on your iPad and allow it access to your microphone and camera.
Step 6. On your Windows, you should see the iPad acting as the webcam on the window displaying on your computer.
That’s all to it. You now have your iPad turned into a webcam for your Windows Pc. What if I have a Mac? If that’s your case, the next method is for you.
Method 3. How to Turn iPad Camera into Webcam using Camo
Camo is a third-party app that repurposes your iPad’s camera into a webcam, displays the output to your Mac, and works with your installed video chat applications. Furthermore, Camo uses a USB to link your iPad to the Mac, and the installation and setup process is easy.
Besides, it lets you zoom, rotate the image, and the video stream effects and corrections. Camo works out of the box with Jitsi, BlueJeans, Zoom, big gorilla, GoToMeeting, and Google Meet.
Here’s how to use an iPad camera as a webcam on Mac using Camo:
Step 1. Install Camo on your iPad and Camo Studio for your Mac.
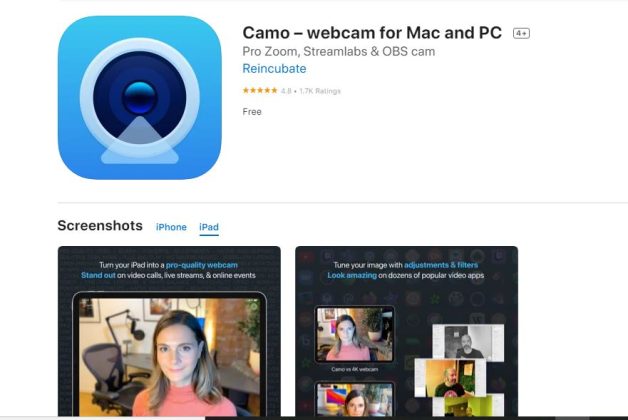
From your App Store, download and install Camo. Next, visit the Camo website and download Camo Studio and install it on your Mac.
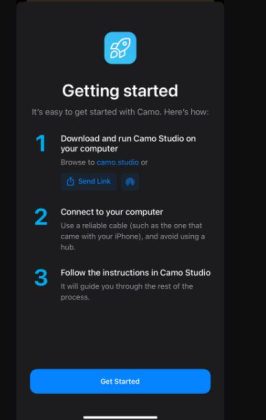
Step 2. Connect your iPad.
Once you have the Camo and Camo Studio installed, proceed to open the Camo app on your iPad. Next, use a lighting cord that supports power and data transfer to connect your iPad to your Mac.
Step 3. Link Camo with your recording software.
The last step is to navigate the software settings you regularly use for video conferencing apps like Zoom. Open Settings, and choose to use Camo from the webcam options.
That’s it! Camo will now connect your iPad to your Mac and use it as your external HD webcam when accessing any video chat app. Camo has great features, and you can play around with its settings to ensure you look great on camera.
Conclusion
Knowing the available tips and tricks to use your iPad as a webcam comes in handy to give you a smooth and quality time when using your favorite videoconferencing app. This post covered 3 available methods that can allow you to use an iPad as a webcam, either for Mac or PC.
Hopefully, you now found a way that works for you.


