FineVoice Advanced Voiceover Feature Guide
FineVoice’s Advanced Voiceover feature is based on TTS (Text-to-Speech). This feature provides advanced text content adjustment options, allowing users to make fine adjustments to their voiceovers. This guide will detail how to use FineVoice’s Advanced Voiceover feature, including text adjustment, voice model adjustment, and advanced features.
Overview
FineVoice’s Advanced Voiceover feature allows users to generate voiceovers through the following steps: Input script → Select voice model → Adjust model parameters (optional) → Fine-tune text content → Add sound effects or background music (optional) → Click Convert.
Follow the steps below to create voiceovers
Step 1: Input Script
1. Log in to FineVoice: Ensure you are logged into your FineVoice account.
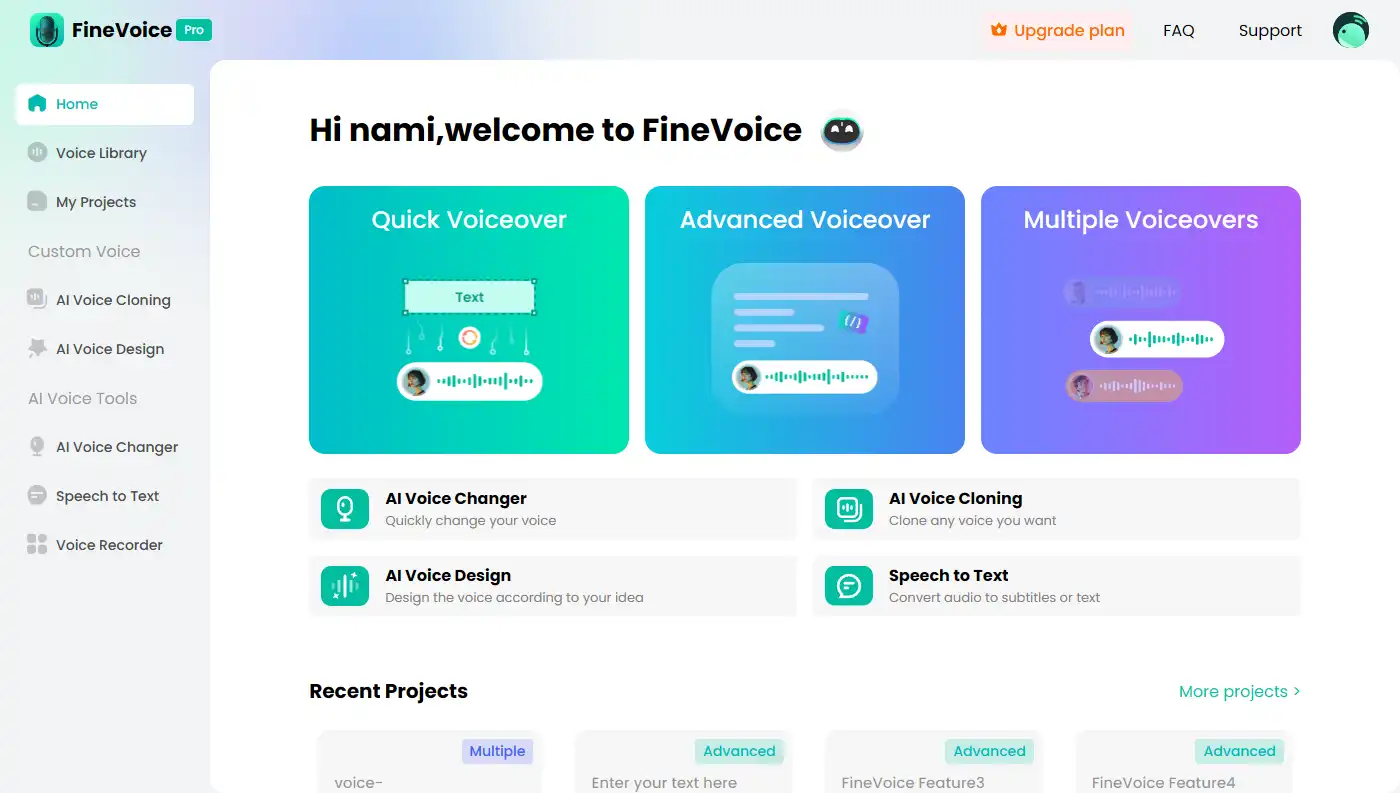
2. Select Advanced Voiceover: In the main interface, click on Advanced Voiceover.

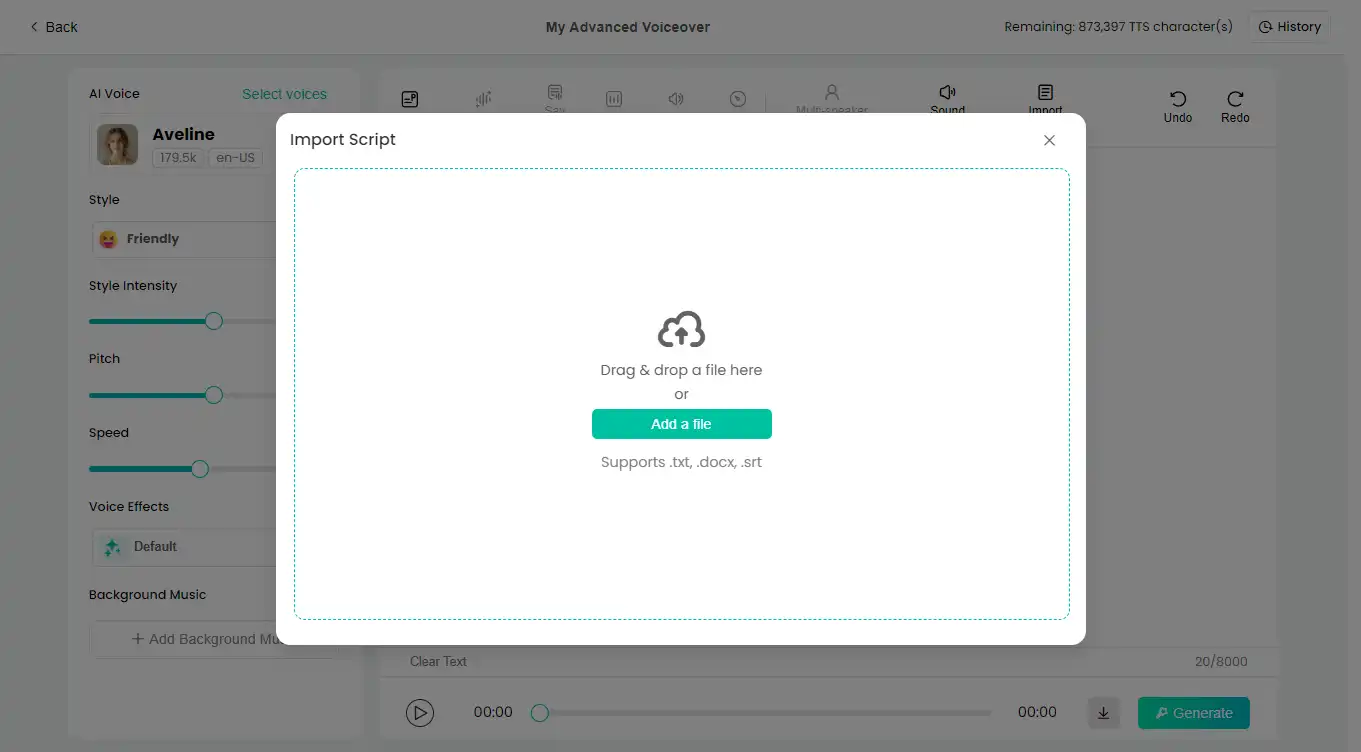
3. Input or Import Script: Enter your script content into the text box. Or, click the “Import Script” button to upload a text file (e.g., .txt or .docx) from your local computer.
Step 2: Select Voice Model
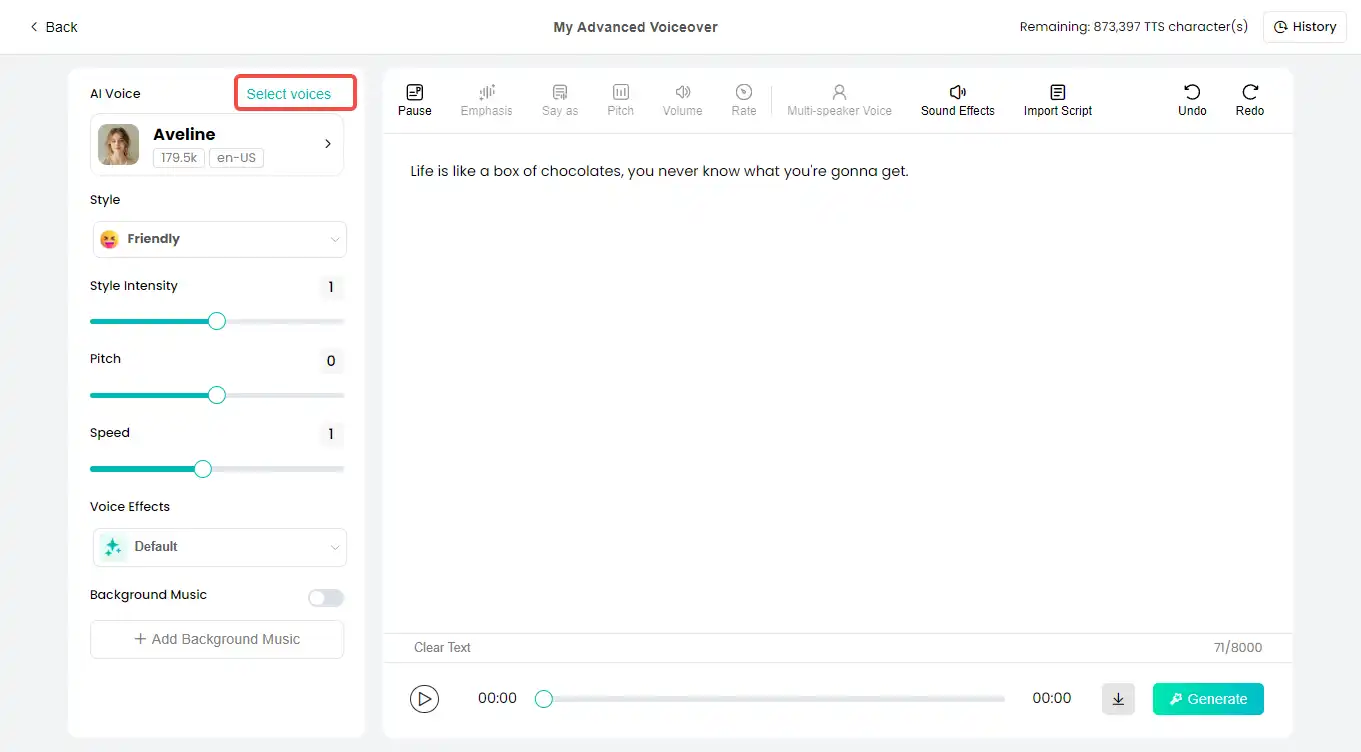
1. Open Model Selection Interface: Click the “Select voices” button to enter the voice model selection interface.
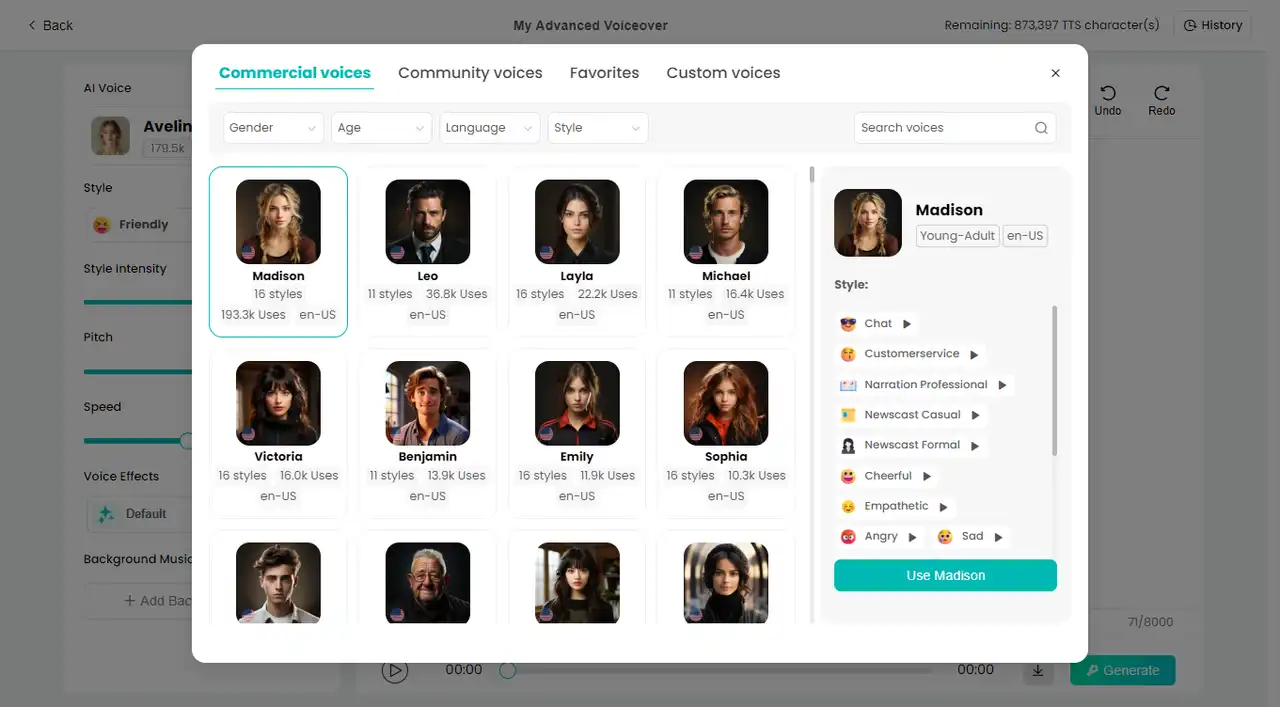
2. Browse and Select Model: Browse the various voice models provided by FineVoice and select the one that suits your needs. Each model can be previewed to help you find the most suitable voice.
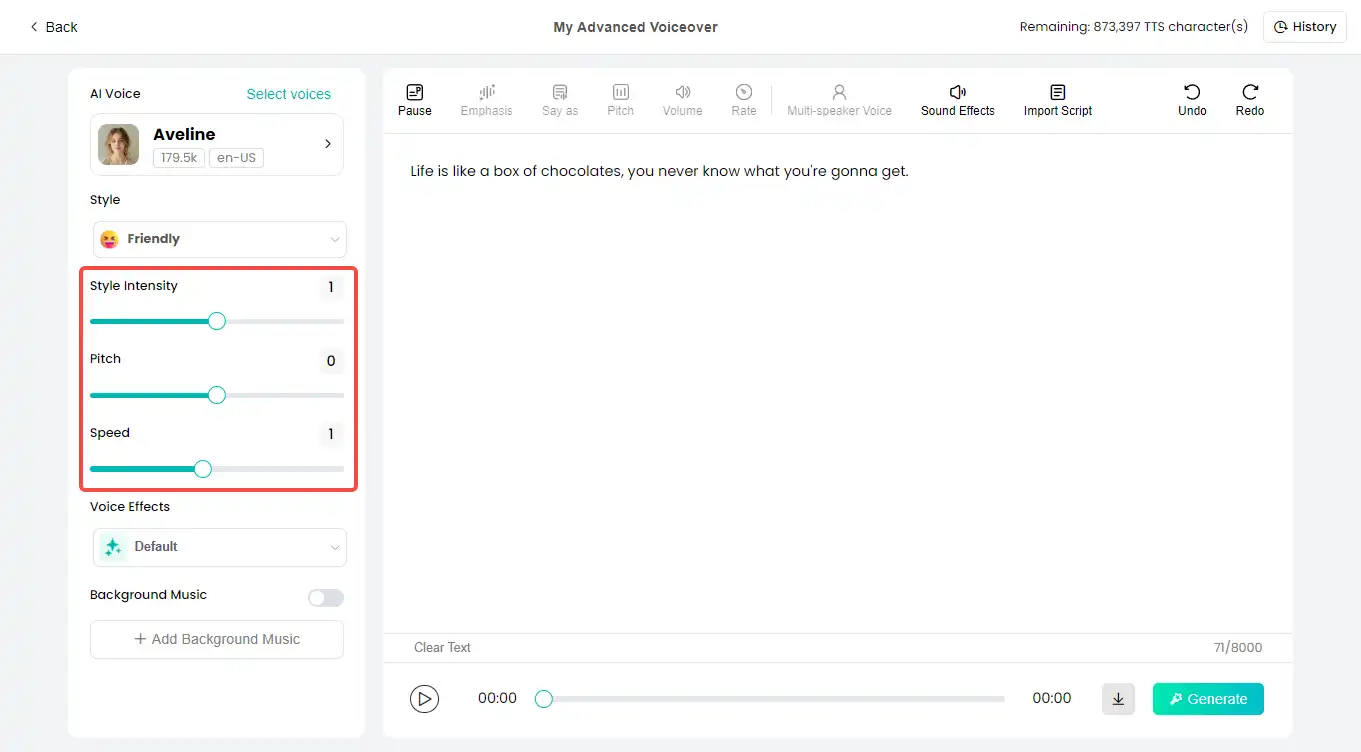
Step 3: Adjust Model Parameters
FineVoice offers a range of parameter adjustment options to help you customize the generated voice effect.
1. Style Switching and Adjustment:
- Choose Style: In the voice model options, select the style you like (e.g., formal, friendly, cheerful).
- Adjust Style Value: Use the slider to adjust the intensity of the style, fine-tuning the voice’s expressiveness.
2. Adjust Pitch and Speed:
- Pitch: Adjust the pitch slider to change the voice’s high and low tones to better meet your needs.
- Speed: Adjust the speed slider to control the playback speed of the voice.
Step 4: Fine-tune Text Content
The Advanced Voiceover feature allows you to make more precise adjustments to the text for a more natural and accurate voice effect.
1. Pause: Insert a marker where pauses are needed, specifying the duration to enhance the naturalness of the voice.
2. Emphasis: Add emphasis markers to words or phrases that need to stand out more in the speech.
3. Say As (Formatting):
Example: Format “$1000” as “one thousand dollars”.
4. Adjust Pitch, Volume, and Rate:
- Pitch: Adjust the pitch for specific text segments.Volume: Adjust the volume for specific text segments.
- Rate: Adjust the rate for specific text segments.
5. Multi-speaker Voice: Select a portion of the text and switch to another voice model for reading, adding variety to the voiceover.
6. Sound Effects: Choose the sound effects you want to add (e.g., echo, robot) from the sound effect options.
Step 5: Add Sound Effects and Background Music
The Advanced Voiceover feature allows you to add sound effects within paragraphs and background music throughout the segment to enhance the audio expression.
1. Sound Effects: Insert sound effects between texts to enhance the voiceover effect. Choose the appropriate sound effect and insert it at the designated position.
2. Background Music: Add background music to the entire text to enhance the overall sound expression. Click “Add Background Music” and find suitable music.
Step 6: Click Generate
When you are satisfied with all the settings and adjustments, you can generate the final voice file.
1. Generate Voice: Click the “Generate” button, and the system will start processing the script and generating the voice.
2. Preview and Download: Once generation is complete, you can preview the generated voice. If satisfied, click the “Download” button to save the audio file to your local computer.
Conclusion
FineVoice’s Advanced Voiceover feature, with its rich adjustment options and advanced text processing capabilities, helps users generate high-quality voice content. Whether for basic use or advanced adjustment, this feature can meet your needs. We hope this guide helps you better use FineVoice’s Advanced Voiceover feature, improving your work efficiency and the quality of your projects.
Can't find the answer to your question?
Contact us and we’ll get back to you as soon as we can.