How to Download and Install iTunes on Windows
Apple iTunes is often used to transfer files between Windows and iOS devices. This guide will teach you how to download iTunes and install it on Windows step by step.
How to Get iTunes
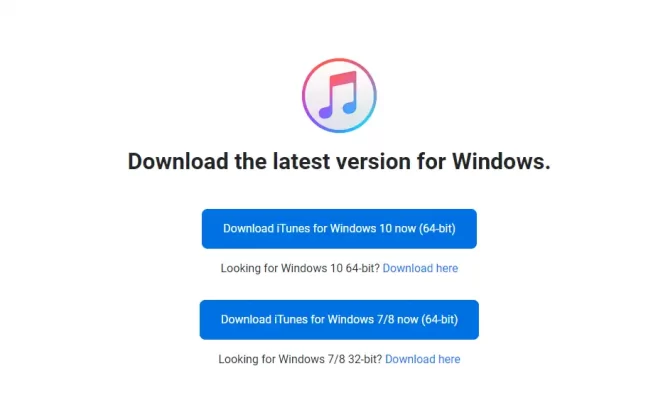
Where to download iTunes? You can get iTunes from Microsoft Store or just click this link to get to the iTunes download page.
iTunes download page: https://secure-appldnld.apple.com/itunes12/032-75919-20230522-6B7A256F-6541-48EC-AA40-60D621885783/iTunesSetup.exe
Download iTunes for Windows according to your operating system.

How to Install iTunes on Windows 10
Here’s how to install iTunes on Windows 10.
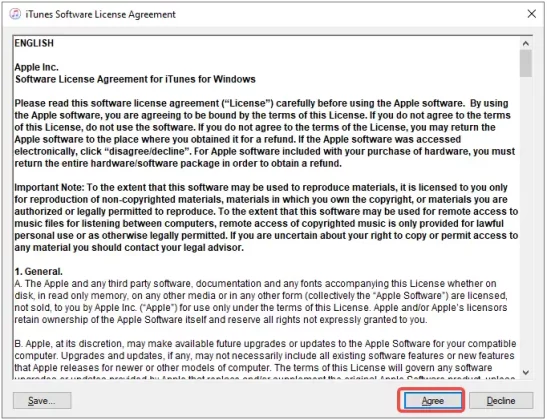
Step 1. After downloading the iTunes app, run the installer and follow the on-screen instructions.
Then click Agree in the iTunes Software License Agreement window.

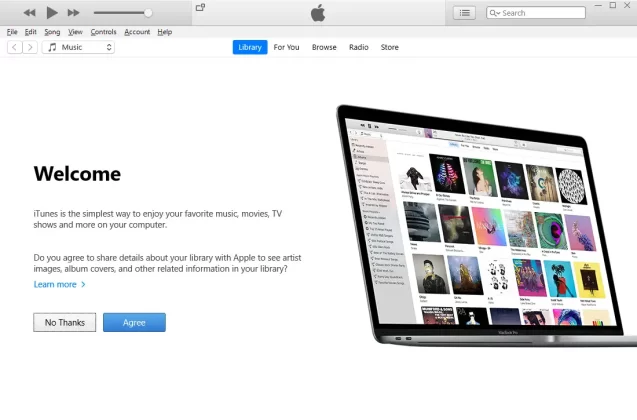
Step 2. In the Welcome screen, click the Agree or No Thanks button to continue.

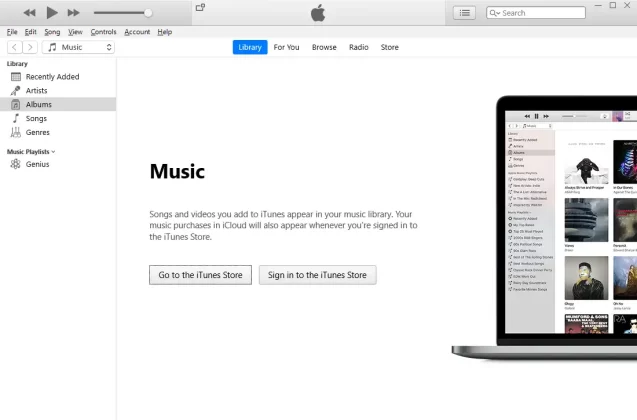
Step 3. If you have an Apple ID, choose Sign in to the iTunes Store.
If you don’t have an Apple ID, choose Go to the iTunes Store to create an Apple ID.

Step 4. Now, you’ve installed iTunes successfully.
How to Install iTunes on Windows 8 or 7
For Windows 7 or 8 users, take the steps below:
Step 1. Download the iTunes app and run it.
Step 2. Choose the installation options you want to change.
- Add iTunes and QuickTime shortcuts to my desktop.
- Use iTunes as the default player for audio file.
- Default iTunes language.
- Destination folder.
Step 3. Once done, click the Install button.
Step 4. After that, click on Finish.
Step 5. If you have an Apple ID, choose Sign in to the iTunes Store.
If you don’t have an Apple ID, choose Go to the iTunes Store.
Step 6. Congratulations.
Can't find the answer to your question?
Contact us and we’ll get back to you as soon as we can.